Writing a duty roster
Learn how to create and share a roster with your staff.
1 Define shifts
Our duty roster is based on a shift model. Each shift has a beginning and an end, as well as a work area. First at all, you should complete the entire shift plan for one week: Create Shifts
2 Staffing
In the second step, the staff is assigned to the created shifts. Find out more here: Staffing
3 Release duty roster
When the duty roster has been written - meaning that shifts have been created and distributed to employees - it is time to activate the duty roster for e2n perso.
4 Duty roster download
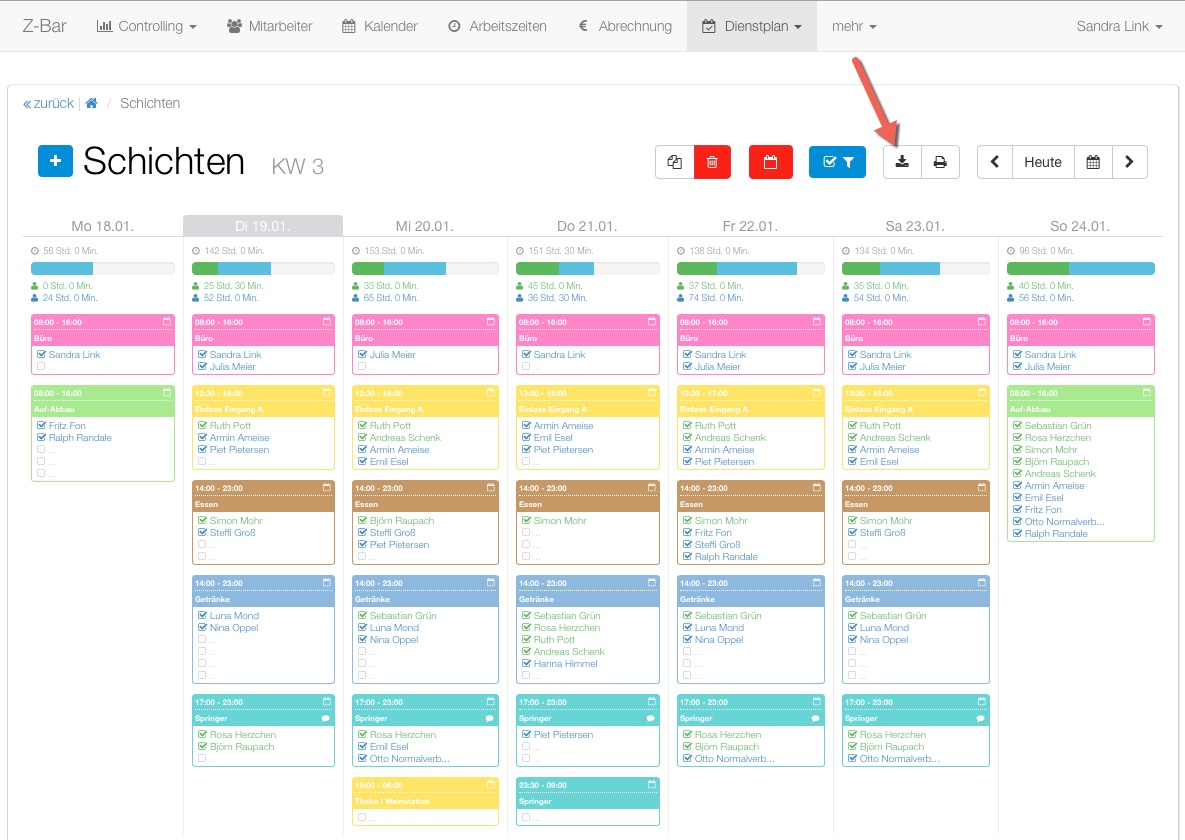
If the view is switched between staff or work area, there is also the option of saving the duty roster for the week as an Excel file. Tips for displaying, viewing and printing the Excel file can be found here: Excel printout

5 Delete weekly schedule
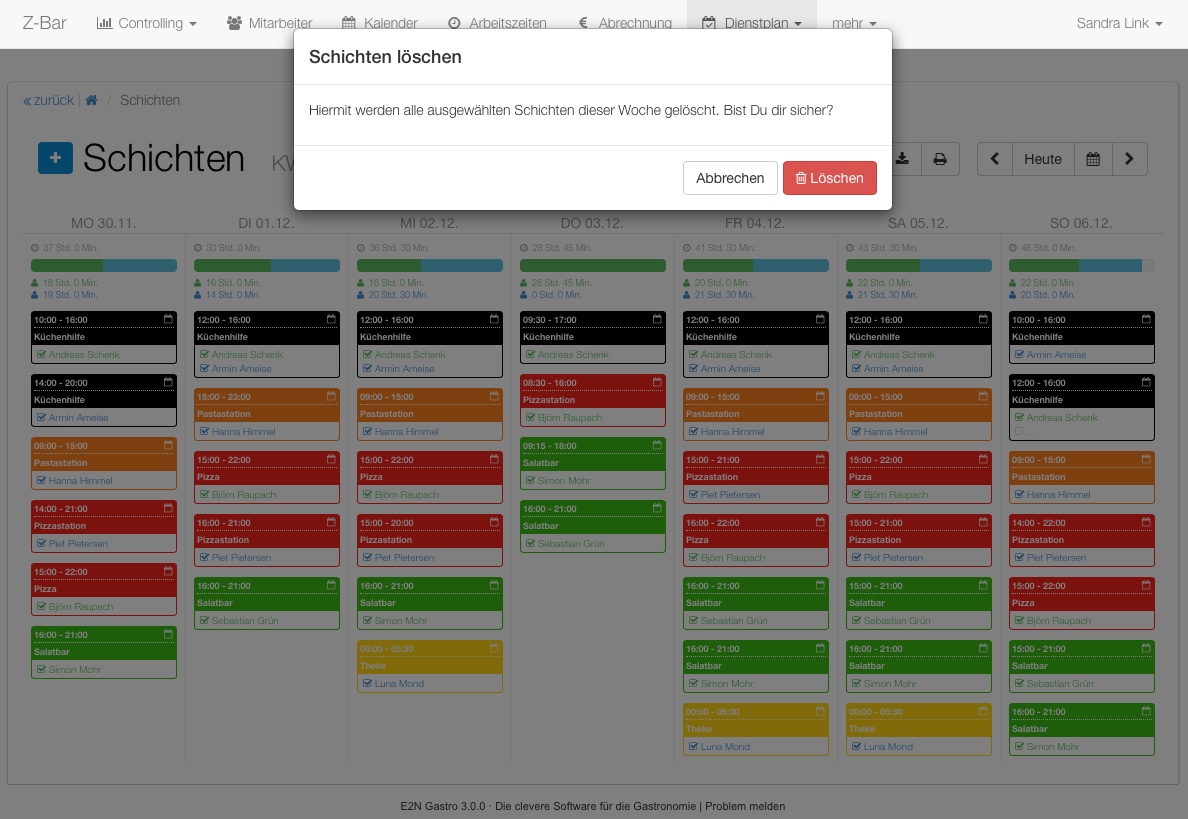
To delete an entire week, simply click on the red bin.

6 Create departments (optional)
Optionally, you can create departments (group of work areas) for duty scheduling.