1 Views
You will reach the employee overview below > Employees.
In general on the right side at the toolbar you choose between Tile- or List-View.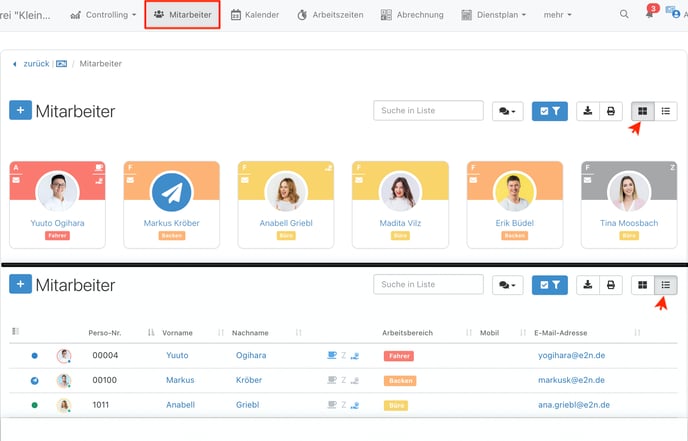
e2n Tip:
At the List-View you sort the employees individually via drag&drop. For that click on top of the List-Icon at the table heading on the left column and switch the employees as wished:
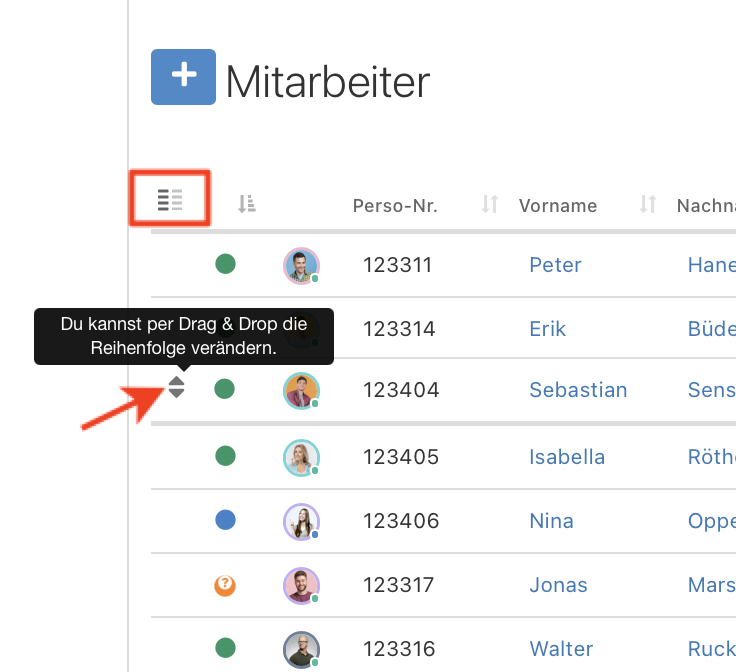
The sorting you make here for example is also taken over for the roster.
2 Informations
In both views various informations are available plotted differently.
The List-View displays you the most important data tabula, while the Tile-View is working with Icons and you can see details by moving the curser over the Icon.
- Employees including employee type
- green dot: Permanent employee
- blue dot: Temporary help
- red dot: external employee
- yellow dot: inactive employee
- personnel number, first name, last name
- Icons for settings
- blue coffee cup: individual break settings
- blue pay Icon: Fester Stundenlohn (fix hourly wage), (grey: Salary)
- work areas
- Mobile-Number and mail address
3 Functions
3.1 apply Employees
Via the blue plus on top if the left you can apply new employees.
3.2 Search
At the search field you type in the personnel number, name, mobile-number or mail address of the employee and the matching employees will be displayed.
Note:
Also while searching the at the blue filter token restrictions will be accounted.
3.3 sending Messages
Click on the message-Icon to send e-mails or push-messages to the displayed employees.
3.4 Blue Filter
You decide wich employees will be displayed with the help of using the blue filter .
3.5 Export and Print
With the appropriate Icons at the toolbar you export or print the current view of your employees.